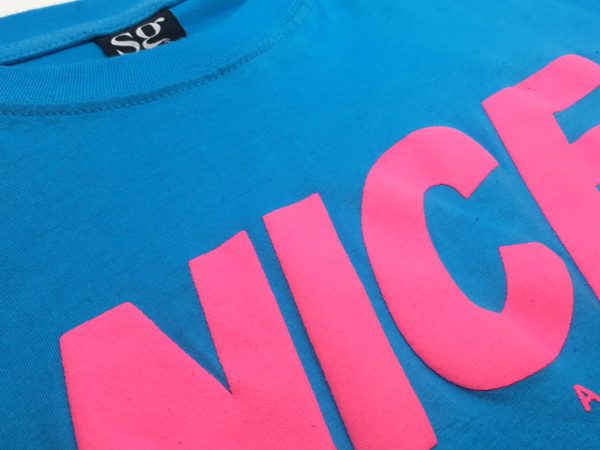
What’s the one thing screen printers fear the most? Getting a call from a customer saying those awesome t-shirt prints they got from you yesterday, had cracked right after washing.
Ohh cra*
The last thing you want is to sell an inferior product. Bad word travels fast. And in today’s world, it’s harder to regain trust once you break it. That’s no way to build a 250K/year screen printing business.
In this super stressful situation, it is best to apologize and pray that your customers are understanding folks.
Now let’s take a look at how you can avoid this awkward situation from ever happening.
The screen print cracking, is in the pudding
To understand and produce quality print jobs that won’t come back to haunt you, you’ll first need to understand ink.
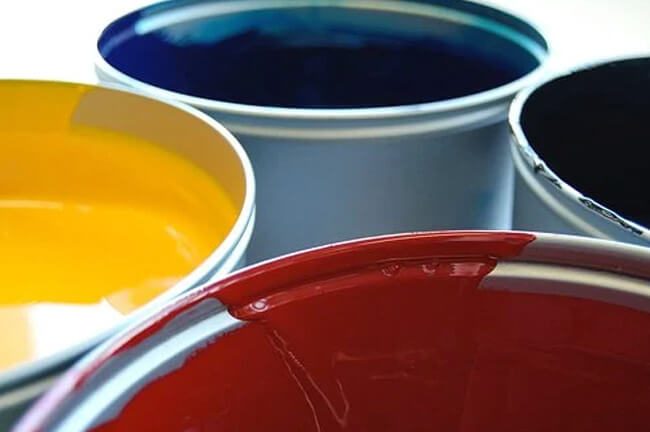
In this article, I’ll elaborate on the two most common types in t-shirt screen printing; water-based and plastisol ink.
Both are very different animals; each requiring different setups, processes and printing techniques. How they interact with different fabrics, screen meshes and temperatures are also unique.
Related readings: Water-based or Plastisol? 7 Tips To Find Your Ideal Ink Type
These days, I see more DIY screen printers starting out with water-based inks.
Most agree that it’s often easier to ‘reset’ a job if they’ve made a mistake. If you understand the screen printing process, you’ll know that using water-based ink is a lot more straightforward than plastisol or discharge ink.
People are also more aware about the chemical impact of inks on the environment; resulting in an increased demand for eco-friendly, water-soluble products. Having said that, a lot of printers still use plastisol inks because it’s easier to deal with.
Let’s check out each ink type and its characteristics to figure out the best way to resolve your issues.
Screen print cracking with water-based inks
From Speedball to Versatex, Permaset to Green Galaxy, it doesn’t matter which brand you’re using. Water-based inks are generally not flexible and will crack if your process is wrong.
Unless the inks are properly cured, get ready for a world of frustration especially when printing opaques like white or bright colors on dark garments.
Always start with the cure process
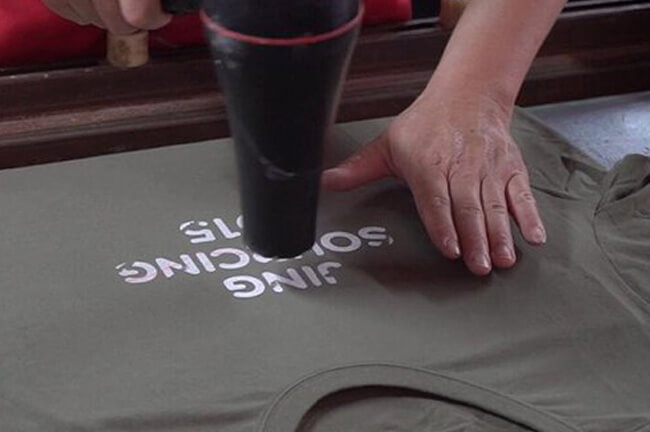
The main reason behind screen print cracking or fading usually stems from improper curing methods. Depending on the manufacturer, water-based inks typically cure at 320°F.
If your heating element isn’t distributing constant, stable and even heat to the print area, it’s going to be a real challenge to produce quality prints that last.
Related readings: 7 Easy Ways To Cure Screen Printed T-Shirts Like A Pro
This means if you’re a DIY screen printer or have a small shop, you’ll want a heat press machine at the very least. This is the most reliable (and budget-friendly) way for you to start properly curing t-shirts if you can’t justify a flash cure unit or conveyor belt.
I mean, you could also scale it down to a home oven or a heat gun. But trust me when I say that troubleshooting will add more problems and cost you more (ink, time, and electricity) when things go wrong.
Even getting a used heat press will go a long way in helping you produce above average prints ready for sale.
Read more: Ultimate Guide: Should you buy a new or used heat press?
Cure times and temperature
With the tools above, the only other thing is to figure out cure temperature and times. This will vary by manufacturer. Opaque whites and bright colored inks start curing between 320 – 370°F and takes several seconds to completely cure.
Some brands will contain more water than others, which means longer cure time. In my experience, Green Galaxy inks seem to take a bit more time compared to Permaset’s Supercover inks.
Water-based inks can be super finicky, and cracking can either come from under-curing or over-curing, both resulting in screen print cracking.
Under-curing means the ink has not been cured long enough or at the proper temperature. To solve this, make sure you actually let the temperature rise to the desired temp and let all the water evaporate out for the ink to fuse with the fabric. If you’re not using a heat press with a timer or temperature readout, I suggest investing in a thermometer gun to monitor things.
On the other hand, over-curing means you’ve hit the ink with too much heat; causing it to become too dry. A stretch test will no doubt crack the print.
So, once you’ve find the optimal balance between cure times and temperatures, there’s a bunch of other things you can check to avoid screen print cracking and fading.
Add more layers
The first thing to make sure is that enough ink actually gets on the garment.
This means laying down an extra or two layers. In my experience, adding an extra coat of under-base especially on dark garments will definitely help.
Watch out for the thickness of the ink layer and again, be careful not over-cure.
Applying several layers of ink combined with too much heat will cause the layer of ink to become brittle that will result in cracking.
Print size
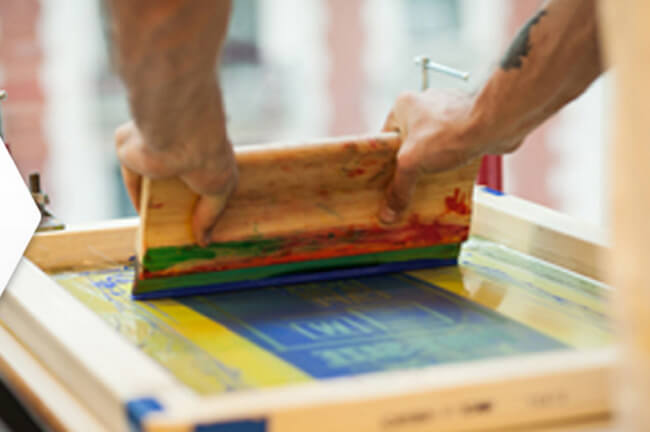
Even if you do end up adding extra layers to make the prints thicker, it won’t make much difference if you don’t drive the ink into the fabric.
With a larger print area, you’ll need to exert more squeegee pressure and effort to coat things evenly. This can be a challenge if you’re doing oversized prints. The key takeaway here is to get the ink to penetrate the fabric as much as you can.
Check your screen printing press
To effectively press the ink into the garment requires a sturdy workhorse that won’t easily budge when you apply downward force. When done right, you’ll almost see the print dented into the knit, making it look “ribbed” or crosshatched.
If you think the problem is with your press, go with a trusted brand like Vastex or M&R. There’s a ton of good, used equipment floating online or you could try building one yourself.
Read more: How to build the world’s easiest 1-color DIY screen printing press
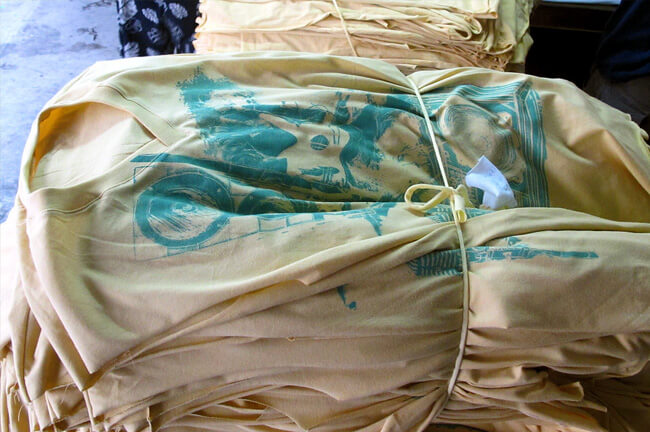
Skip the air drying
Water-based inks become fully air-cured after 24 hours.
Some brands claim even less time. Instead of letting them dry out, I suggest curing them immediately. I do this because experience dictates that I will have less problems later on.
For example, after I finish a batch of prints, I usually have to deliver or have a customer pick them up the very same day. Or at least the very next morning.
Imagine if I gave them the whole ‘24-hour air-dry’ spiel and that they need another day before wearing them. That would certainly kill the joy of getting them quickly in the first place.
Plus, if they didn’t listen and the prints were to crack and fade, I’d have to go through this whole ‘I told you so’ thing and I’d rather not.
Best practices to avoid screen print cracking
You should already be able to solve the problem with the tips I’ve mentioned above. But to round things up for good measure, here are some other things to consider.
Check your mesh
Make sure you are using the appropriate mesh count for what you’re printing.
For example, if you’re printing dark on light-colored garments, you won’t need much ink as opposed to printing light on dark.
With this in mind, go with a higher screen mesh like a 160 or 200 instead of a 110. A higher mesh count will prevent too much ink from passing through to the fabric.
Perform the rub test
After curing, get a piece of white cloth and rub the print area with it. If you get any color on the cloth then it’s probably under-cured.
Storage
Water-based inks dry out with use. Exposure to air, contact with emulsion, all this sucks moisture out of the ink and cracking will happen if your ink is too dry.
Therefore, it’s good practice to separate your unused ink in its original container and your working ink in another.
This way, you’ll have the original ink as a reference point for what it should be like, and can better judge how much water the working ink has lost.
Fumes
Fortunately, there’s really no fumes when curing water-based inks. It just releases steam. But don’t get confused by the evaporation. Some of the steam is from the water in the garment, and some of it from the water in the ink.
Some of that steam does have a small odor, but it’s not nasty. IF you happen to smell something nasty that could be a warning sign.
Clogging
Speaking about foul smells; since water-based inks are notoriously famous for clogging up your screens, some retarders do smell pretty nasty and are a health hazard.
If you’re working long hours and need to use screen openers, I suggest thinking about ventilation. Use a fan or set up your print station outside, or perhaps in a garage where you can leave the doors open.
Screen print cracking with Plastisol inks
I have good news.
For those of you printing with plastisol ink, your uphill struggle isn’t that bad.
Plastisol cures quicker, handles a lot better and lowers production time compared to its eco-friendly counterpart.
Since plastisol ink doesn’t contain any water (it has oil), it never dries out. This characteristic alone removes a lot of annoying variables; allowing us to go straight to the meat of the matter – curing.
Your screen print is cracking because it is ‘under-cured’
Plastisol ink typically cures at around 300 – 340º F depending on the brand you use. There are some ‘low-temp’ plastisol inks that cure at 270º F that I’ve heard fantastic things about.
Anyhow, if you notice cracking, the easiest fix is to cure the printed area again. This time, pay close attention to the temperature. Make sure to measure and allow it to reach your desired number using a temp gun.
Again, you need to use a reliable heating element that distributes stable, constant and even heat, like a flash dryer or heat press.
Read more: 5 multifunction heat press for beginners
So does this mean you can re-cure plastisol?
The short answer is most likely yes.
Unlike water-based inks, plastisol won’t air cure and can sit for days and feel like it’s cured when in fact, it isn’t.
To successfully re-cure the print, it would depend on:
- how long you’ve left it sitting on the t-shirt and
- how you cured it the first time.
To clarify, if you leave a plastisol print out overnight, some of the oil from the ink will eventually soak into the fabric. If you leave it out for too long, even if you cure it to the correct temperature, the print will still crack because the ink need those oils in order to fully cure.
Imagine the scenario from the beginning of this article -where you had just printed up a nice batch of tees for your customer?
Now a week has passed and you get a call from them complaining that the prints have cracked.
If you had printed those shirts by flashing after every stroke and then curing them right after, there’s a good chance that you could still save the batch, even if you did not hit the correct cure temperature.
And if you re-cure it correctly, you should notice some steam being released; which is a good indicator that the fabric and ink have bonded. Now those prints can last a long time.
As a general rule, I suggest performing a quick and easy stretch test when you’re done.
This is to make sure the ink has cured properly, but before you do that, let the ink cool for at least an hour.
Plastisol will stretch well when warm, so this will give you a false positive, thinking it has been fully cured. Some printers I know will wait a full day before doing a stretch test.
Your screen print is cracking because it is ‘over-cured’ or ‘over-flashed’
While over-curing isn’t as common as under-curing, it can still happen especially if you’re printing on polyester/cotton blended or 100% polyester garments.
Read more: 1 Important Thing to Know When Screen Printing on Polyester
Prints that have caught too much heat will become uneven and a little sticky to the touch. The ink will also start to blister when the temperature gets above 340º F.
While there’s no harm to the durability, the print surface won’t be as smooth. This is quite common when you cure using electric dryers with very high temperatures.
The best way to fix this is to monitor your flashes closely especially to the underbase color. Never ‘over-flash’ as that will cause a problem with adhesion of the top colors to the underbase. So make sure when you flash cure, keep the temperatures between 240—250°; enough to get the ink gelling, but not cured.
Again, find a reliable heat source that distributes heat evenly like a heat press. Messing up this process is bound to cause more headaches down the road.
If you are already screen printing using plastisol inks, consider making your own plastisol transfers! They are easy to get started and will surely take your skills to the next level.
Conclusion
Whether you’re printing with water-based or plastisol ink, keep in mind that the tech sheet from the ink manufacturers are just guidelines.
Everyone’s environment, set up and situation is different so the key takeaway here is to test, test, test and do more tests.
Remember, learning how to adjust to the variables in this sport is what creates the champions. Good luck!
