Are you starting to see sticky marks or adhesive when you press light-colored t-shirts? Dirt, vinyl residue, and ink smudges getting transferred from your press onto your tees? These are just a few messy problems you’ll face when your heat press isn’t as clean as it should be.
Keeping your heat press’ platens clean and in excellent working condition plays a big part in completing a successful heat press job. Not only will it help you avoid downtime and increase your work efficiency and the quality of your products, but you will also ensure the machine will last a long time (think decades)
I’m going to pass on a few tricks I use to maintain and clean a heat press quickly. I’m also going to cover some simple heat press best practices you can follow to keep your machine in tip-top condition, so read on.
What to clean your heat press with?
Heat printers are a creative bunch. We’ve used a variety of methods to clean our heat presses. From alcohol to acetone to lighter fluid, some of us have even used a snow scraper (bad idea!).
The most common method everyone agrees on is to use a mixture of mild soap and warm water. This combo should do the trick most of the time, but dirt and ink can be persistent.
For example, say you’re working with plastisol inks. Since it contains oil, this will be harder to remove since it isn’t water soluble. And some transfer papers have adhesives that will stick to the platen and on to your garment.
If you need something more aggressive, you can try mineral spirits or ‘white spirits’ as it’s known in the UK and Australia.
Mineral spirits are organic solvents that are effective cleaning agents. Unlike water, they are generally used to dissolve oil-based materials like paint or ink, adhesive residue, grime and dirt.
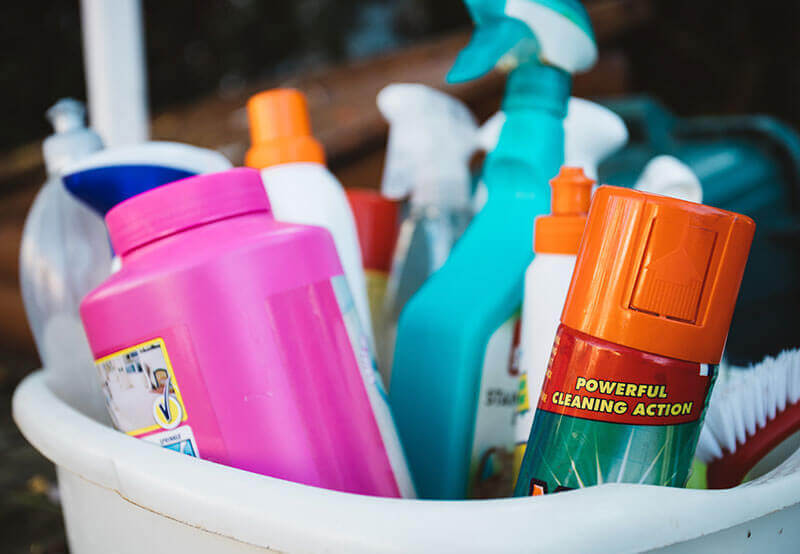
Any hardware shop will carry mineral spirits for very cheap (under $10). If not, you can use similar solvents like an oven cleaner or degreaser. Personally, the EZ Off iron cleaner, a body scrub towel and some clean rags have become staples in my heat press cleaning kit.
3 Steps – Clean your heat press using mineral spirits

Step 1: Get a clean rag and dampen it with enough spirit.
Step 2: Rub the dirty area in circular motion and leave it to soak for a minute.
Step 3: Give it enough time for the spirit to penetrate and break down the dirt or ink.
You should be able to clean any gunk right off. Repeat this process until the entire surface is clean.
While the next step is optional, I like to complete the job with a liquid detergent and water combo. In a plastic spray bottle, mix one part detergent to two parts water.
The spray bottle allows me to control the amount that goes on to my heat press, making sure I don’t accidentally spill it all over. Use a clean rag to finish wiping down both platens.
Start with the upper and move to the bottom heat press platen. This way, all the drippings from the upper platen spilled to the bottom will be removed.
Will this clean my teflon coated heat press?
Some degreasers and even the EZ Off will work with teflon coated heat presses, but be gentle. Never to scrub or scrape your press with anything abrasive as that might wear down the teflon coating.
If your heat press lacks teflon coating, follow the steps above with some mineral spirits and a clean rag or scouring pad. I would also recommend coating the top platen with some teflon spray. This extra coating can help minimize clean up later if something happens.
If you’re looking for a new press with teflon coating, here’s a post that might help you out.
Should you clean your heat press while it’s turned on or off?
I clean all my presses at low temperatures or ‘warm’ regardless of the solvent. I’ve had no issues for the past decade cleaning this way. However, I know printers leaving their press on hot, claiming dirt, ink, and grime come off easier this way.
If you’ve just started experimenting with cleaning products, I suggest leaving it on ‘warm’ or even turned off and unplugged. Some solvents are highly flammable (acetone) and will expel dangerous toxic fumes once heated. Make sure to read the label and wear some heat proof gloves to protect yourself.
How often should you clean your heat press?
I have made it a habit to check and clean my press once a week. It takes no more than 15-20 minutes unless something unforeseen has happened during a job. If you don’t use it much, you can check and clean it once a month.
If you’ve taken the necessary steps to maintain your press, realistically all you need to do is give it a good wipe-down. If you find yourself cleaning it too often e.g. after each time you press, then something is dreadfully wrong.
How to store your heat press when not in use?
Your heat press storage area should be clean and protected from the elements of mother nature. A cool and dry space is ideal since the heating platen is susceptible to rusting when exposed to high moisture.
Make sure to cover your heat press when in storage if you intend to leave it idle for a long time. It is also important to keep any moving parts e.g. levers on clamshells, and pivot joints in swing aways, well lubricated to protect against rust and corrosion.
Best practices to maintain and keep your heat press clean

Heat press maintenance is the key to producing high-quality prints or running a successful heat press business.
While maintenance isn’t tough or expensive, you need the discipline to do it regularly. Here is what I do to keep my heat presses in prime condition with minimal effort before, during, and after using them.
#1: Use a teflon sheet
Some folks I know refuse to use a teflon sheet while heat pressing on lights and will only use them on opaque transfers. Some even claim it slows down their workflow.
While there are merits to this, I’m always an advocate for taking preventive measures. It doesn’t matter if you’re doing vinyl, DTG, or pressing your own plastisol transfers, I believe it’s always good practice to use a teflon sheet or parchment paper to prevent the heat plate from coming in direct contact with the garment, risking the transfer of impurities, which can cost you a lot of wasted blanks.
#2: Double check your transfers
No matter how long you’ve been heat pressing, there will always be mistakes. Especially on big runs, it’s important to check your heat transfer paper before every press to minimize hiccups.
Are you making your own plastisol transfers? Then check to see if transfer powder isn’t getting on the back of the press. Pressing heat transfers on light? Check if there’s excessive flaking from the transfer paper after trimming. HTV? Make sure there’s no curling that might accidentally gel with the top platen.
Probably the most common mistake I know is accidentally leaving a transfer upside down. It’s a simple mistake with annoying consequences. Avoid it by creating your own system of checking to ensure you don’t mess up.
#3: Work in a clean area
Needless to say, as important as it is to have a clean heat press, your work area needs to follow the same rule.
With lint, dust, strands of hair, and other debris circulating your work space, it’s easy to transfer these impurities to the garment during a press. Nothing is worse than completing a run only to discover dirt on a batch of fresh white tees.
#4: Protect the bottom platen
Covering the lower platen of the heat press is half the battle won. Not only will it extend the life of the rubber padding, but a pad protector or teflon sheet will protect it against ink stains and even make it easier to load substrates.
#5: Do a test press
Even if you think your heat press is in immaculate condition, go ahead and do a test. Performing a test press using clean rags is a good habit to cultivate to help you spot impurities. This won’t just save you t-shirt blanks, but it’ll save time and mental energy in the long run.
Conclusion
If you’re just starting with heat pressing, you’re gonna run into messy situations that might demotivate you. But don’t worry. Even professionals make mistakes.
The important thing is to perform maintenance and clean your heat press at regular intervals. Once you have this incorporated into your workflow, I have no doubt you’ll be able to increase your machine’s performance and its operational life. Good luck!
