A lot of people have been emailing asking me about the screen printing exposure unit that I use in this exposure calculator.
To be honest, it’s not pretty, and it’s far from being a ‘unit’. But I like to keep things simple, efficient and super cheap to make.
But most importantly, it works just like any other pro machine!
I run a fairly small operation at home where I print anywhere from 100-300 500-1000 tees a week.
I’ve been using this exposure ‘unit’ since 2010 and never had the need to buy one of those expensive foam packed vacuum generated ones.
Granted, the prints I churn out are limited to A3 size and aren’t as high end, meaning it doesn’t have super fine details or halftones, so for me this works perfectly fine.
And I believe it’ll work for you too especially if you’re just starting out.
If you’re wondering which is the best exposure unit for your screen printing business, it’s the one you can start making stuff with immediately.
You can read up and compare metal halides to LED units, but at the end of the day, you need to haul a$$ if you want to progress.
El cheapo screen printing exposure unit that works like a charm!
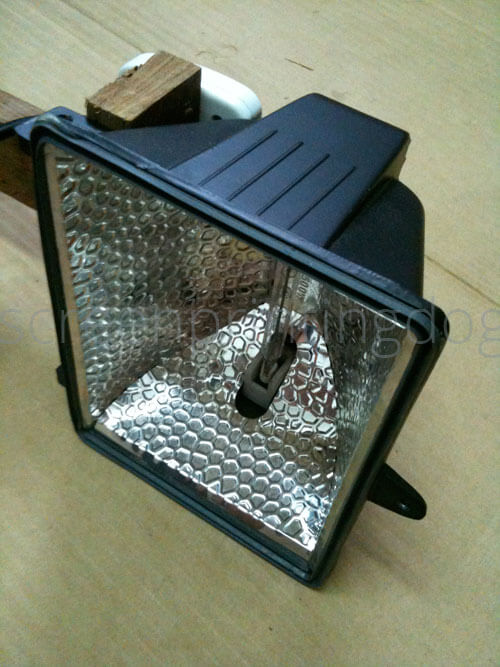
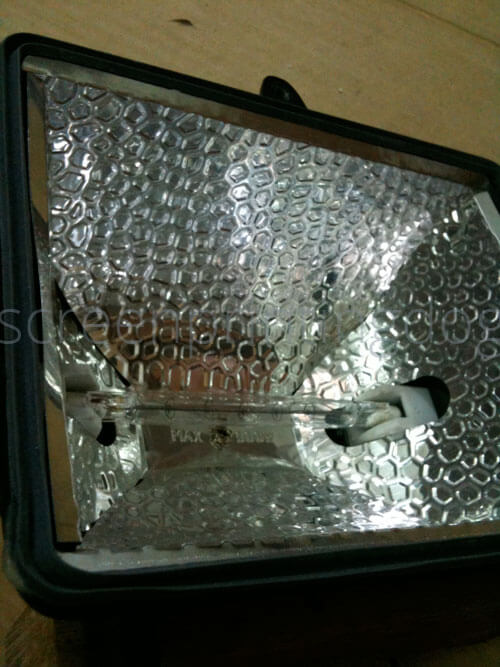
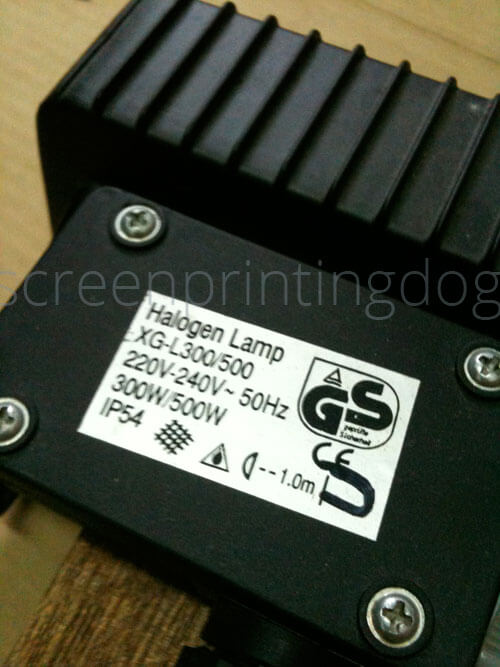
So what I use is a in this exposure calculator (note: do not get anything below this. My initial 350W tube couldn’t produce enough heat) and flood lamp which you can get for under $30 $50 (this is upgraded model I could find on Amazon. Still cheap tho)
Update: for prints bigger than A3 I use two of these side-by-side.


The only thing you have to keep in mind is the consistency of the distance between the unit and frame.
If you’ve set it up like how i have (clamped to a work table) and the distance is say 3ft, well, make sure that all your exposures are done exactly like this. (check out my full tutorial on exposing screens)
The further away the light source is to your frame, the longer it takes to expose the image.
*Tip: Keep a fan on that blows between the frame and screen printing exposure unit during exposure. The heat that comes out of those 500 watts is NOT a joke.
