It has been 24 hours since I printed my first screen.
And it turned out to be complete s**t.
I thought I’d read and researched all I needed to know. I was pretty sure I covered all the screen printing tutorials I could find on Google and T-shirt Forums even before I opened my first can of paint.
Turns out I missed out on a tiny detail that completely ruined my first print.
This one tiny thing is called “lift of” or better know as “off-contact“.
So what exactly is ‘Off-contact’?
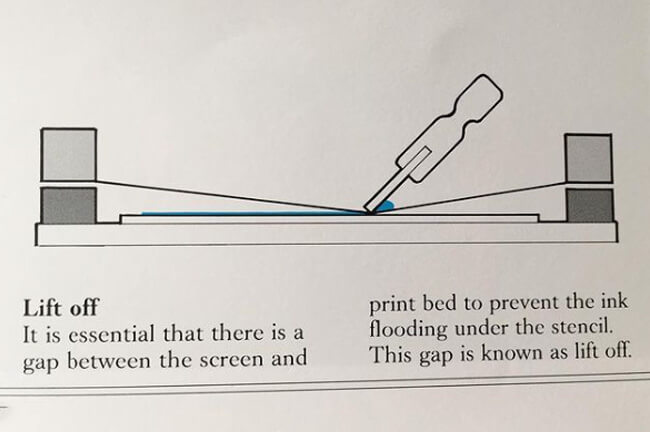
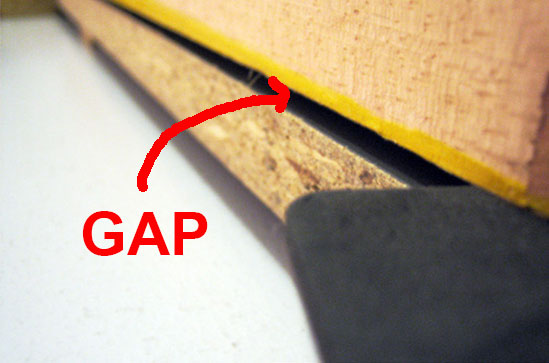
In screen printing, to have “off-contact” means to simply leave a tiny gap between the platen and bottom of the screen frame.
Why?
Its purpose is to prevent ink from sticking to the substrate (substrate is the item being printed e.g. t-shirt) when a squeegee is pulled across the screen.
Off-contact guarantees that the screen mesh will immediately snap back/return from the substrate as the squeegee is moved across the stencil.
Having this gap will also give us some control to the sharpness/ crispness of your print.
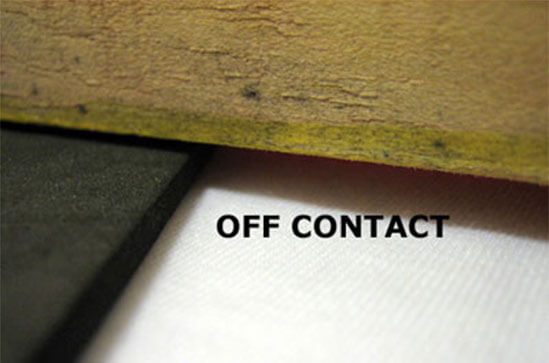
If there is no ‘off-contact’ during printing, the ink will most likely smear and bleed-out, causing problems including an imperfect print. Not having off-contact will also cause difficulty lifting the screen after a pass because wet ink is generally sticky.
How do you create the off-contact and how much do you need?
Typically, the amount of gap depends on your screen mesh and the type of substrate. If your mesh it’s tight, use less off-contact, the more “loose” use more off-contact.
For general DIY screen printing on t-shirts, sweatshirts and other apparel, there are several methods to create the off-contact but the easiest and most efficient method I found is to use a ‘shim’.
Common “shims” are popsicle sticks, dimes, index cards, cardboard, plastic ruler, or my favourite, coffee coasters.
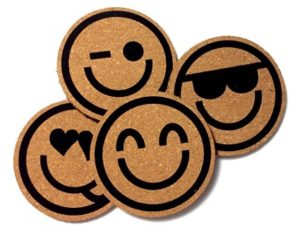
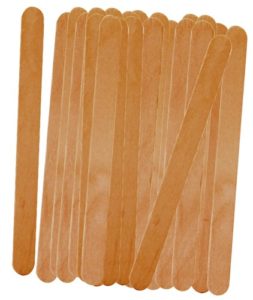
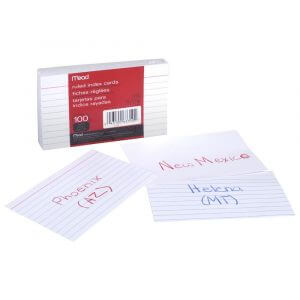
I found from talking to other screen printers, most people found one of these items to give the optimum gap for off contact. If you’re printing on heavy apparel, stack two or more of these should be sufficient.
Keep in mind that the off-contact you need might differ from mine, so make sure to keep on testing to find your ideal gap.
If you’re looking to save time screen printing your first garment, check out my full tutorial where I cover everything from A-Z including ‘off-contact’.
